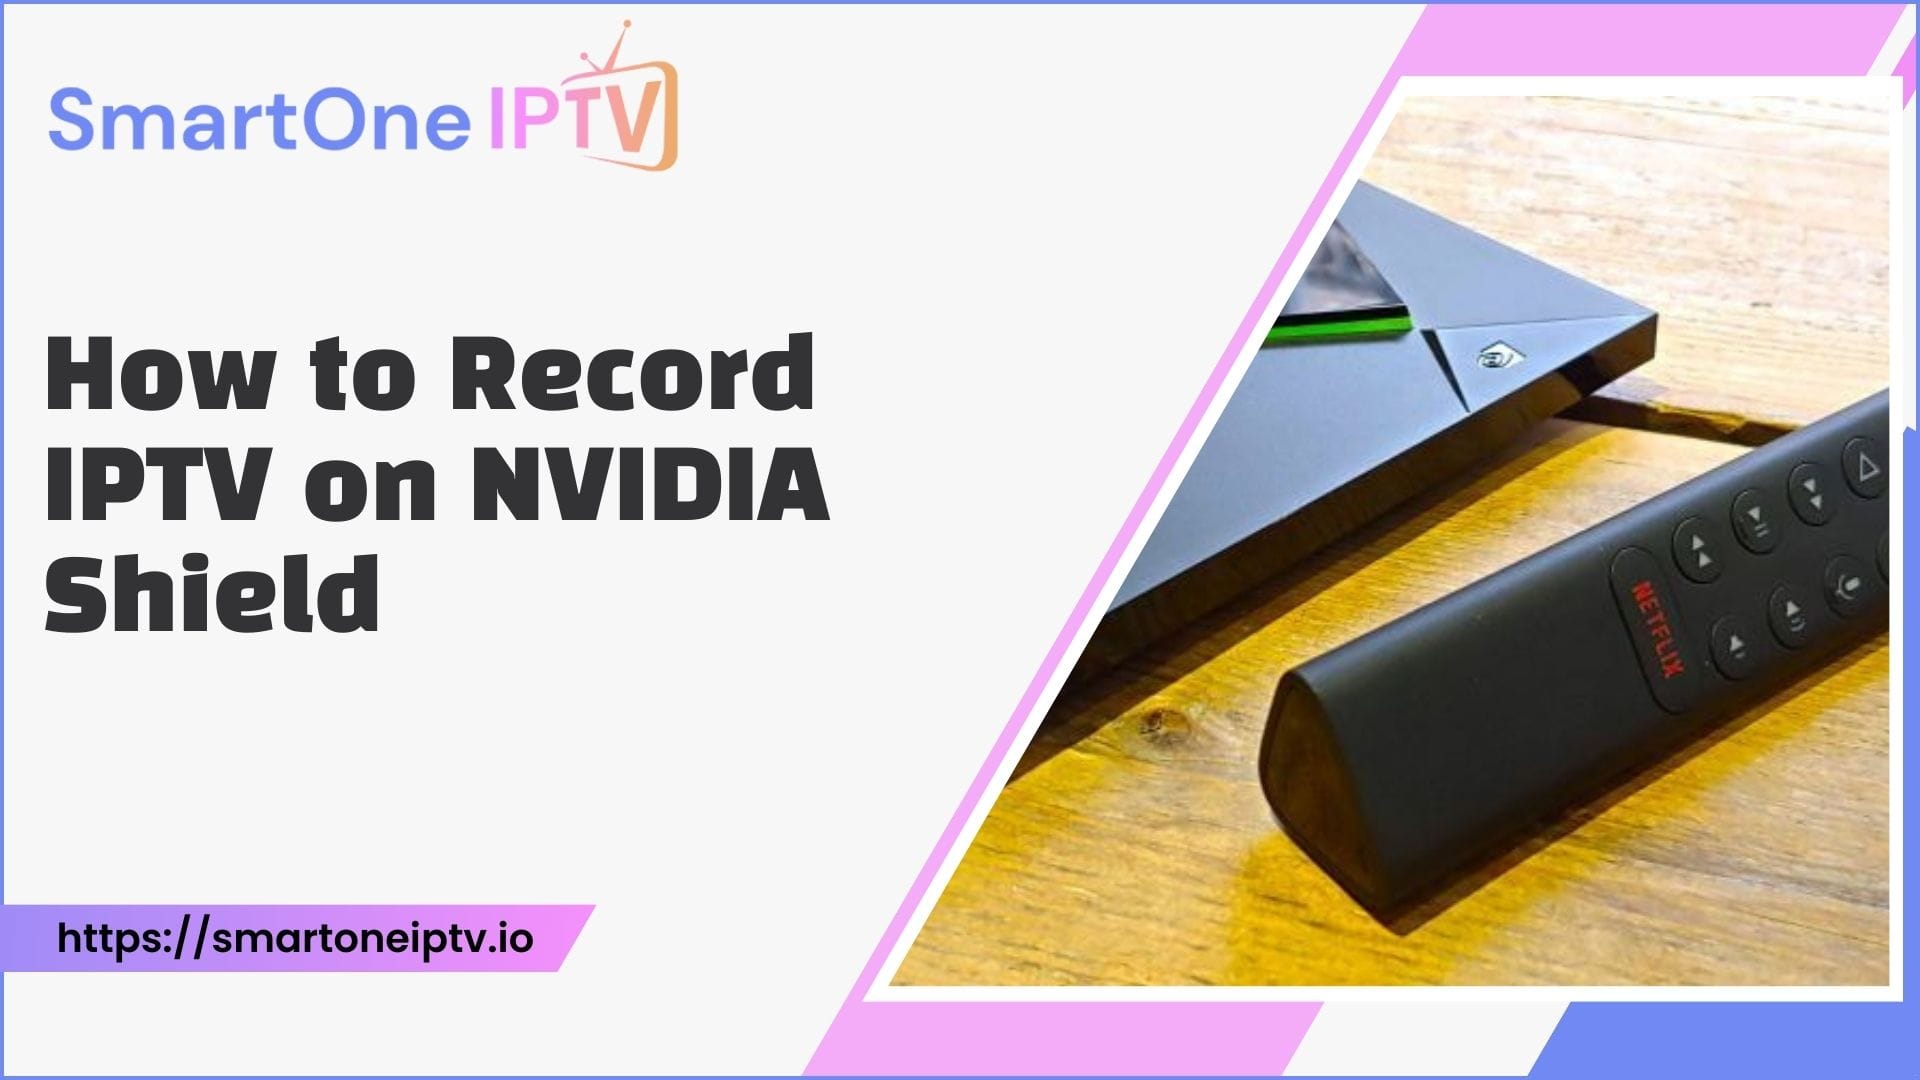
Streaming IPTV on NVIDIA Shield is a game-changer for enjoying live TV, movies, and series on demand. But what happens when you want to record your favorite programs for later? If you’re wondering how to record IPTV on NVIDIA Shield, you’ve come to the right place. This article explains the process in detail, with easy-to-follow methods and practical tips.
Why Record IPTV on NVIDIA Shield?
Streaming live content is convenient, but schedules don’t always align with your availability. Recording IPTV on your NVIDIA Shield lets you watch your favorite shows and events whenever you want. It also ensures that you’ll never miss an episode, even during unexpected interruptions.
With NVIDIA Shield’s robust hardware and software capabilities, recording IPTV is a smooth and efficient process. Let’s dive into the methods available to achieve this.
Method 1: Using a Dedicated IPTV App with DVR Features
Some IPTV apps come with built-in DVR (Digital Video Recorder) functionality. These apps allow you to schedule recordings directly on your NVIDIA Shield without additional tools.
Steps:
- Install an IPTV app with DVR support, such as TiviMate or GSE Smart IPTV, from the Google Play Store.
- Configure the app with your IPTV provider’s playlist or credentials.
- Navigate to the DVR section within the app.
- Choose the program you want to record and set a timer if needed.
Why Use This Method?
This approach is ideal for those who prefer a straightforward solution without extra devices or software. However, ensure your IPTV subscription supports recording and DVR features.
Table 1: Comparison of Popular IPTV Apps for Recording
| IPTV App | DVR Support | Ease of Use | Subscription Required |
| TiviMate | Yes | High | Yes |
| GSE Smart IPTV | Yes | Moderate | Optional |
| Perfect Player | No | High | No |
Method 2: Recording with External USB Storage
If your preferred IPTV app doesn’t support recording, using an external USB storage device can help. NVIDIA Shield allows users to connect USB drives to expand storage, making it possible to record content.
Steps:
- Connect a formatted USB drive to your NVIDIA Shield.
- Install an app like TiviMate, which supports custom storage locations.
- Configure the app to use the USB drive as the recording destination.
- Schedule or start recording programs directly to the USB.
Benefits:
This method provides flexibility in managing recordings without relying solely on the Shield’s internal storage.
Method 3: Using a Screen Recorder App
Screen recorder apps can capture IPTV streams as they play. While this method may not be as polished as a dedicated DVR, it’s a viable alternative for some users.
Steps:
- Download and install a reliable screen recording app from the Play Store, such as XRecorder.
- Open the IPTV app and start playing the desired content.
- Launch the screen recorder and begin recording.
- Stop recording when the program ends and save the file.
Considerations:
This option requires manual intervention, and the quality may depend on your Shield’s processing power. However, it’s an accessible solution when other methods aren’t available.
Method 4: Using a PC or NAS for Remote Recording
For advanced users, integrating your NVIDIA Shield with a PC or NAS (Network Attached Storage) can open up remote recording options.
Steps:
- Install Plex or Emby on your NVIDIA Shield and configure it as a media server.
- Set up your PC or NAS as the storage and recording destination.
- Use the IPTV app or the media server’s DVR capabilities to schedule recordings.
Why Choose This Method?
This setup is perfect for those with extensive recording needs and access to additional devices. It provides centralized storage and remote access to your recordings.
Table 2: Comparing Recording Methods on NVIDIA Shield
| Method | Complexity | Storage Requirements | Ideal For |
| IPTV App with DVR | Low | Internal/Cloud | Beginners |
| External USB Storage | Moderate | External Drive | Flexible Storage Needs |
| Screen Recorder App | Low | Internal | Occasional Recording |
| PC/NAS Integration | High | Network Storage | Advanced Users |
Common Challenges When Recording IPTV on NVIDIA Shield
Recording IPTV on NVIDIA Shield isn’t without its challenges. These may include storage limitations, app compatibility issues, or restrictions from IPTV providers. Here’s how to address them:
- Storage Full: Use an external drive or optimize internal storage by clearing unused apps and files.
- App Restrictions: Ensure you’re using an IPTV app compatible with NVIDIA Shield.
- Provider Policies: Check if your IPTV subscription allows recording, as some providers restrict this feature.
Tips for Seamless IPTV Recording on NVIDIA Shield
- Keep Your Apps Updated: Updated apps reduce bugs and improve recording functionality.
- Optimize Storage: Regularly manage your recordings and free up space.
- Use Quality Cables: For external storage, use high-quality USB cables to prevent data loss.
FAQs
1. Can all IPTV apps record on NVIDIA Shield?
No, only apps with DVR capabilities, like TiviMate, support recording. Check the app’s features before installation.
2. Do I need extra storage for recording IPTV?
It depends on the recording length and your Shield’s available storage. External USB drives or NAS systems are great options.
3. Is recording IPTV legal?
Recording IPTV is legal for personal use, but distributing recorded content may violate copyright laws. Always check your local regulations.
4. Why does my IPTV recording fail on NVIDIA Shield?
Recording failures may occur due to storage issues, app limitations, or provider restrictions. Verify your setup and subscription features.
5. What’s the best app for recording IPTV on NVIDIA Shield?
TiviMate is a popular choice due to its user-friendly interface and robust DVR functionality.
A Final Tip
Always choose an IPTV provider and apps that support recording features to make your experience smoother. Proper planning ensures you enjoy all your favorite content without interruptions.

