If you’ve ever wanted to access live TV channels and on-demand content on Kodi without hassle, you’re likely curious about IPTV Simple Client. But where do you start, and how can you ensure everything runs smoothly? This guide provides a comprehensive walkthrough to help you set up IPTV Simple Client with ease.
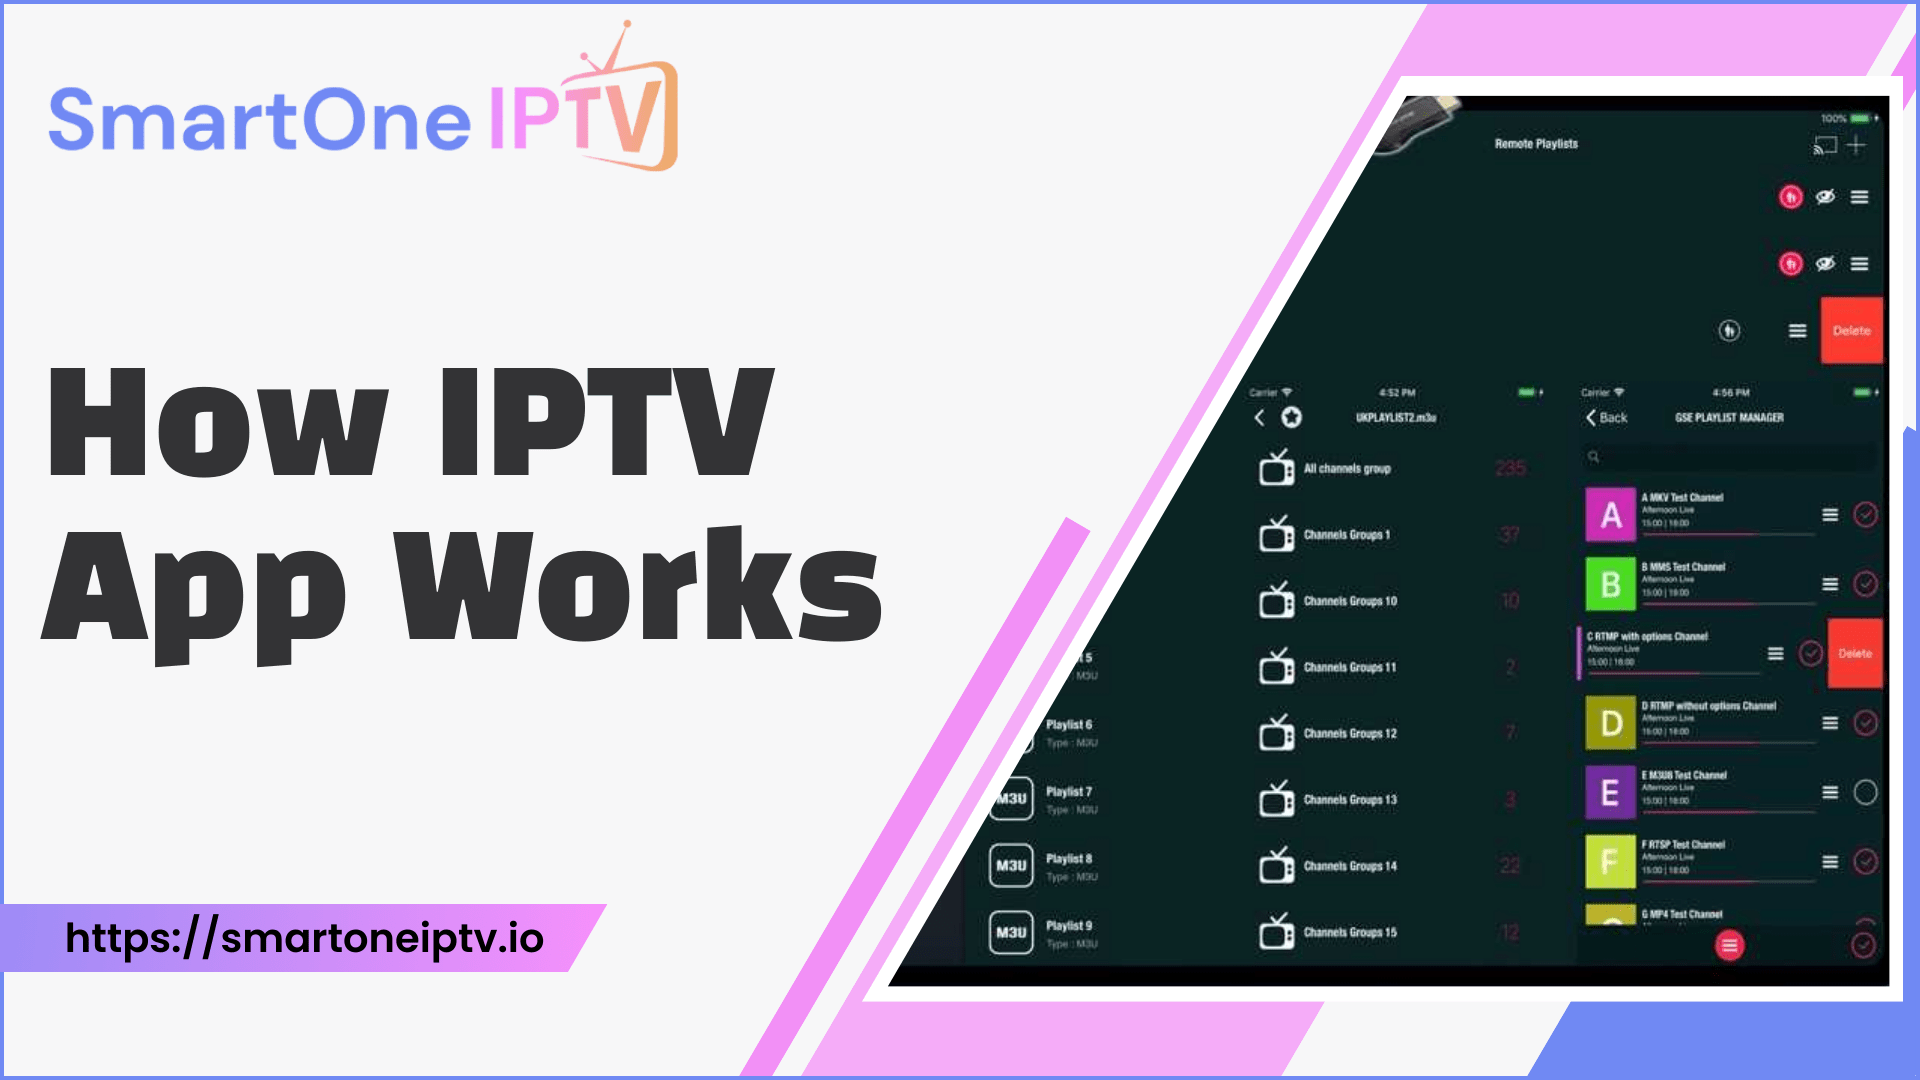
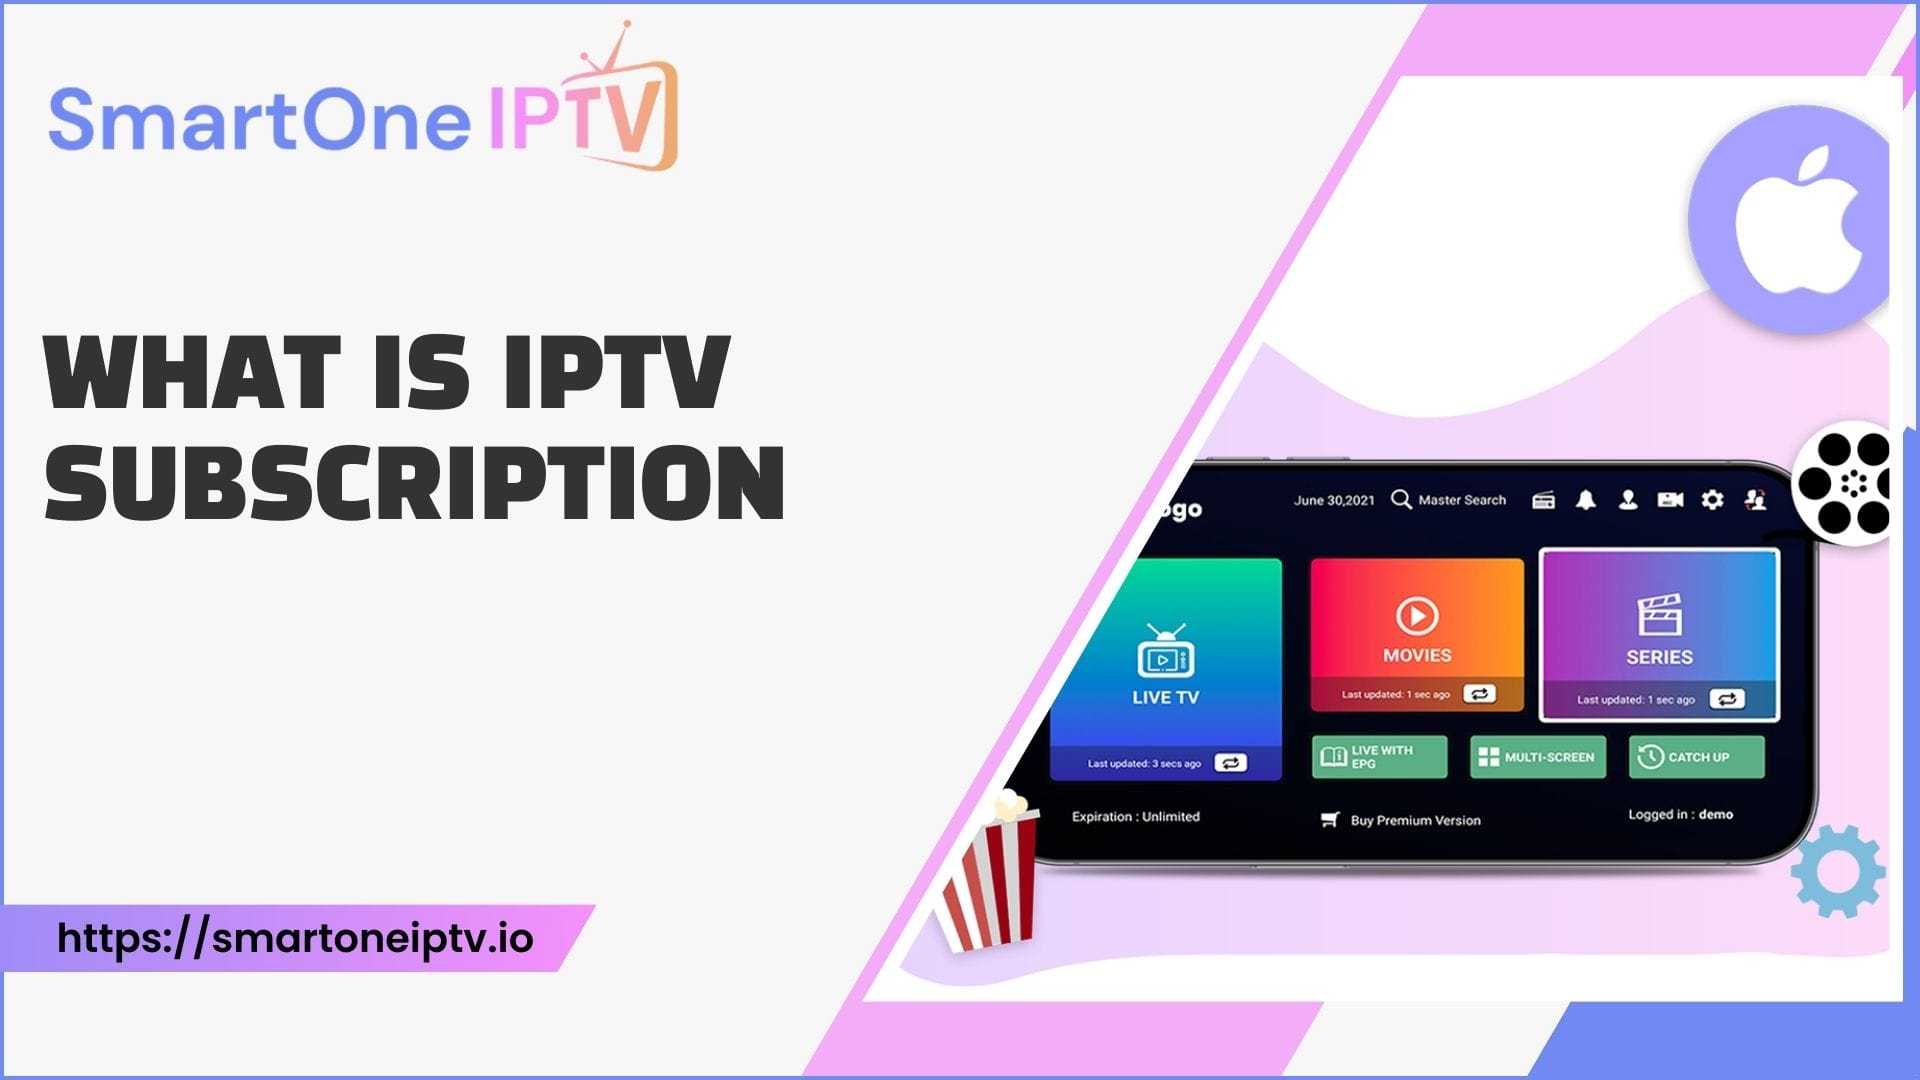
IPTV, or Internet Protocol Television, has changed the way people consume entertainment. By using an IPTV service and a tool like IPTV Simple Client, you can stream channels directly through Kodi. This guide will answer your questions and remove any confusion you might have about the setup process.
What Is IPTV Simple Client?
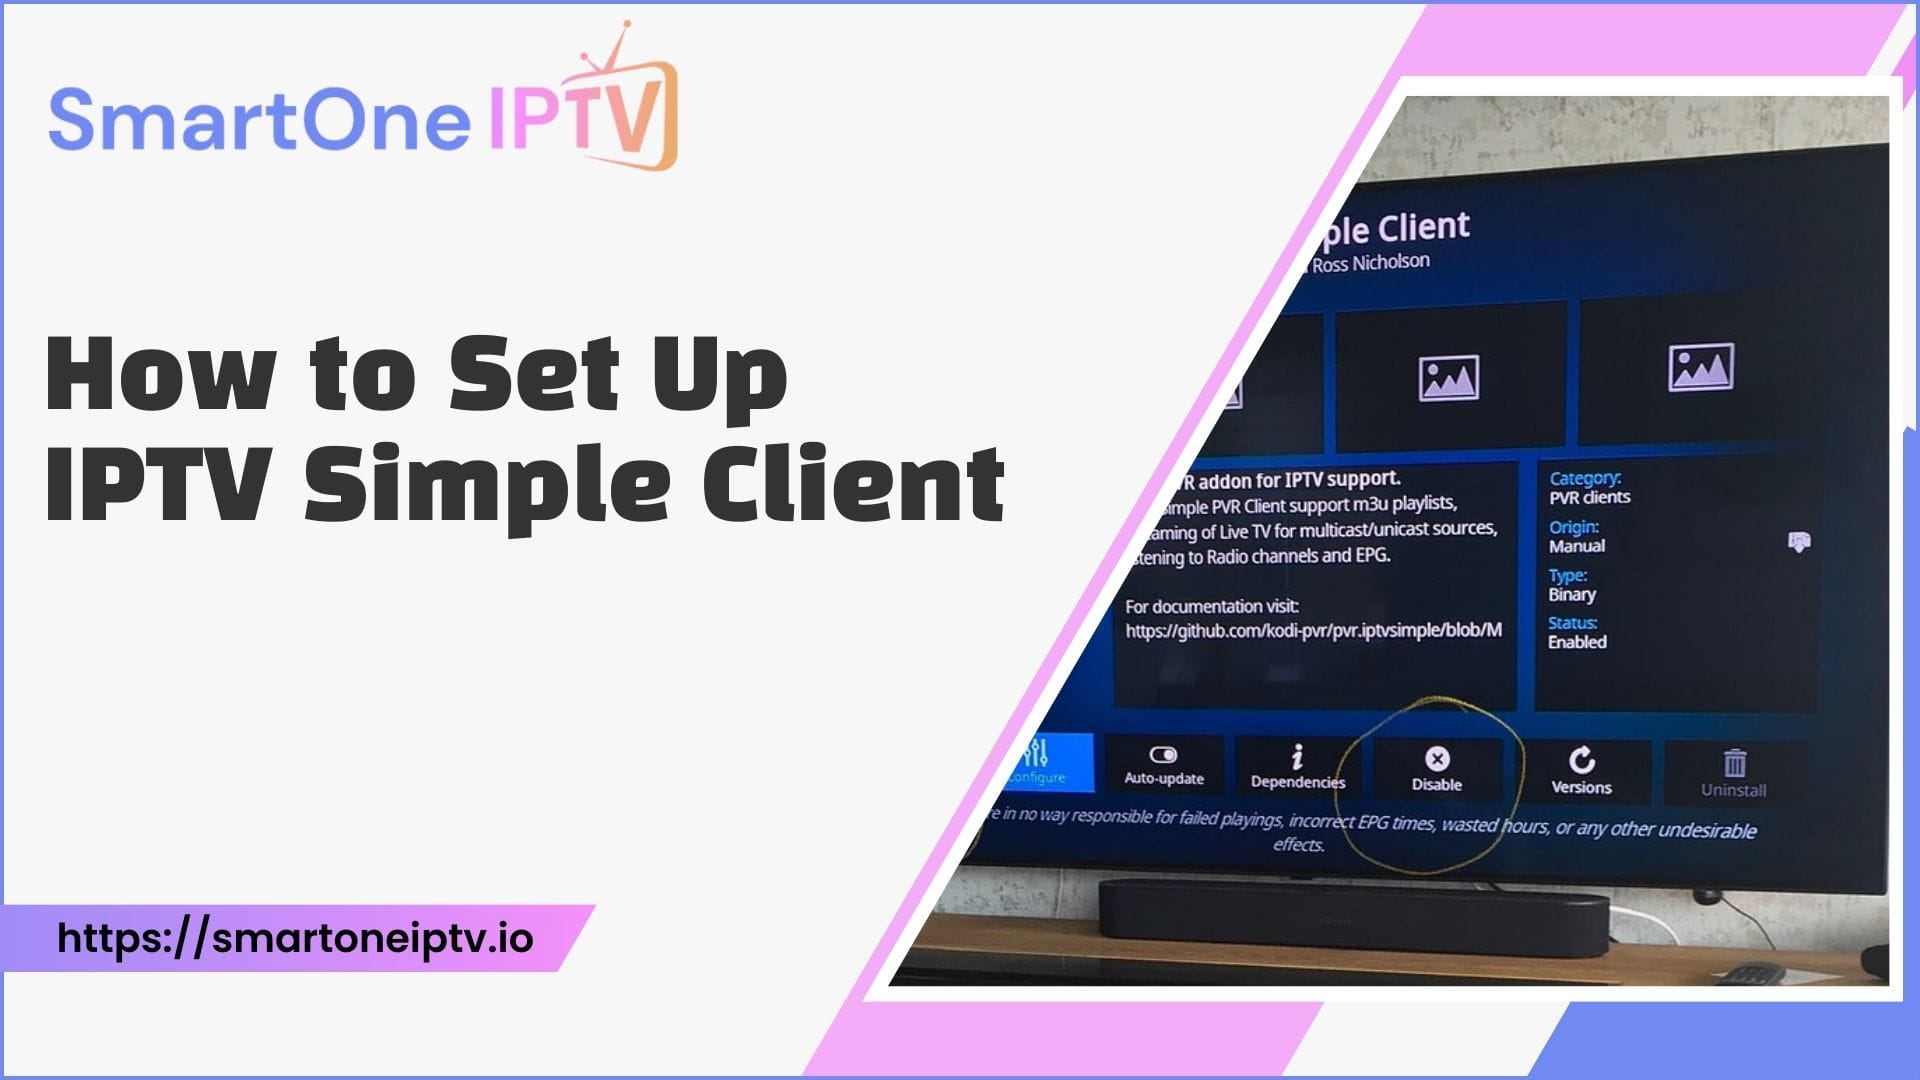
IPTV Simple Client is an add-on for Kodi, a popular open-source media player. It acts as a bridge between your IPTV service and Kodi, allowing you to stream live TV, radio stations, and other content. Unlike other plugins, IPTV Simple Client is lightweight, easy to use, and doesn’t require any advanced knowledge to configure.
Why Use IPTV Simple Client?
Have you wondered why so many people opt for IPTV Simple Client? The answer is simple. It streamlines access to your IPTV provider’s channels, offering convenience and a user-friendly interface within Kodi. Whether you’re using it for sports, news, or entertainment, IPTV Simple Client makes content accessible without juggling multiple apps or devices.
How to Set Up IPTV Simple Client on Kodi
Setting up IPTV Simple Client might seem intimidating at first, but it’s a straightforward process if broken into simple steps. Here’s a complete walkthrough to help you.
Step 1: Install Kodi
Before setting up IPTV Simple Client, ensure Kodi is installed on your device. Kodi is available for multiple platforms, including Windows, macOS, Android, and Linux. Download the official version from Kodi’s website to avoid compatibility issues.
Step 2: Access the Add-On Browser
To set up IPTV Simple Client, open Kodi and navigate to the Add-ons section. You’ll find this option on the left-hand side of the home screen. Once there, click on the Add-on Browser (represented by an open box icon).
Step 3: Find and Install IPTV Simple Client
In the Add-on Browser, select Install from Repository. Then, choose PVR Clients from the list and look for PVR IPTV Simple Client. Click on it and hit Install to begin the download and installation process.
Step 4: Configure IPTV Simple Client
After installing IPTV Simple Client, you’ll need to configure it. Go back to the Add-ons section, find IPTV Simple Client under My Add-ons > PVR Clients, and click Configure. This step is crucial to connect the add-on with your IPTV service.
Step 5: Add the M3U Playlist URL
In the configuration menu, select General and look for the option to input your M3U Playlist URL. This URL is provided by your IPTV service provider. Make sure the link is accurate to avoid errors.
Step 6: Enable the Add-On
Once you’ve entered the playlist URL, save the settings and return to the home screen. Enable the IPTV Simple Client add-on by going to Settings > TV and turning on the Enable option.
Step 7: Restart Kodi
To apply all changes, restart Kodi. After relaunching, go to the TV section in the main menu. You should see your channels listed and ready to stream.
Troubleshooting Common Issues
Sometimes, setting up IPTV Simple Client doesn’t go as planned. Here’s how you can address common challenges:
Missing Channels
If your channels don’t load, double-check the M3U Playlist URL. A minor typo can prevent the list from loading. Also, ensure your internet connection is stable.
Buffering Issues
Buffering can ruin the streaming experience. To fix this, lower the playback quality or upgrade your internet speed. Using a wired connection instead of Wi-Fi can also improve stability.
Outdated Add-On
Ensure you’re using the latest version of IPTV Simple Client. An outdated add-on may have compatibility issues with newer versions of Kodi.
Table 1: Common Errors and Their Fixes
| Error | Cause | Solution |
| Missing Channels | Incorrect M3U URL | Re-enter the correct URL |
| Buffering | Slow Internet | Upgrade speed or lower quality |
| Add-On Not Working | Outdated version | Update IPTV Simple Client |
| Crashing | Overloaded playlist | Use a smaller playlist file |
Benefits of IPTV Simple Client
What makes IPTV Simple Client so popular? Aside from being free and easy to set up, it integrates seamlessly with Kodi to offer a wide range of channels. Additionally, you don’t need external hardware or a complex setup process.
Advanced Configuration Tips
If you want more control over your IPTV setup, consider exploring the advanced settings in IPTV Simple Client.
Adding an EPG (Electronic Program Guide)
An EPG provides a detailed schedule of programs. You can add it by going to the configuration menu and selecting the EPG Settings tab. Input the URL provided by your IPTV provider.
Customizing Channel Groups
You can organize channels into groups for easier navigation. This feature is especially helpful if you have a large playlist.
Table 2: Comparison of IPTV Add-Ons
| Feature | IPTV Simple Client | Other Add-Ons |
| Ease of Use | High | Moderate |
| Configuration Time | Short | Longer |
| Compatibility | Universal | Limited |
| Cost | Free | Varies |
FAQs
- What is IPTV Simple Client?
IPTV Simple Client is a Kodi add-on that allows users to stream IPTV channels through an M3U playlist. - Why is my playlist not loading?
Ensure the M3U Playlist URL is correct and your internet connection is stable. - Can I use IPTV Simple Client on all devices?
Yes, it is compatible with devices that support Kodi, including Windows, Android, and macOS. - How do I fix buffering issues?
Lowering playback quality or upgrading your internet speed can resolve buffering. - Is IPTV Simple Client free to use?
Yes, it is completely free. However, you’ll need an IPTV service subscription.
A Pro Tip for a Better Experience
For the best performance, regularly update Kodi and IPTV Simple Client. This ensures compatibility with the latest IPTV services and eliminates potential bugs. By staying updated, you’ll enjoy uninterrupted streaming and a more reliable user experience.

