Watching IPTV on a MacBook opens the door to endless entertainment. Whether you want live TV channels, sports events, or on-demand movies, IPTV provides a reliable streaming option. But how exactly do you go about it? The process might seem overwhelming initially, but this guide will break it down into easy, actionable steps. You’ll be streaming your favorite content on your MacBook in no time.
What is IPTV?
Before diving into the methods, let’s clarify what IPTV is. IPTV stands for “Internet Protocol Television,” meaning it delivers TV content via the internet rather than traditional satellite or cable systems. It requires an internet connection, an IPTV subscription, and compatible software or apps to work on your MacBook.
Why Choose IPTV for Your MacBook?
IPTV offers flexibility and affordability. Unlike cable subscriptions, IPTV lets you choose specific content packages, making it a cost-effective solution. Plus, MacBooks are powerful devices, capable of supporting high-quality streaming without interruptions.
Methods to Watch IPTV on MacBook
There are several ways to access IPTV on your MacBook, and each method has its benefits. Let’s explore each one in detail to find the best fit for you.
1. Using VLC Media Player
VLC Media Player is one of the most popular choices for IPTV streaming. It’s free, open-source, and compatible with macOS.
How It Works:
- Download VLC Media Player from its official website and install it on your MacBook.
- Open the app and go to the “Media” or “File” menu, depending on the version.
- Select “Open Network Stream” and paste the M3U playlist URL provided by your IPTV service.
- Click “Play” or “Open,” and your channels will start streaming instantly.
Why Choose VLC?
It’s lightweight, user-friendly, and supports various formats, making it an ideal choice for beginners.
2. IPTV Smarters Player
IPTV Smarters is a dedicated app designed for streaming IPTV services. Its intuitive interface makes navigation effortless.
How It Works:
- Download the IPTV Smarters app from the App Store or the official website.
- Open the app and enter your IPTV credentials, including the M3U URL or login details.
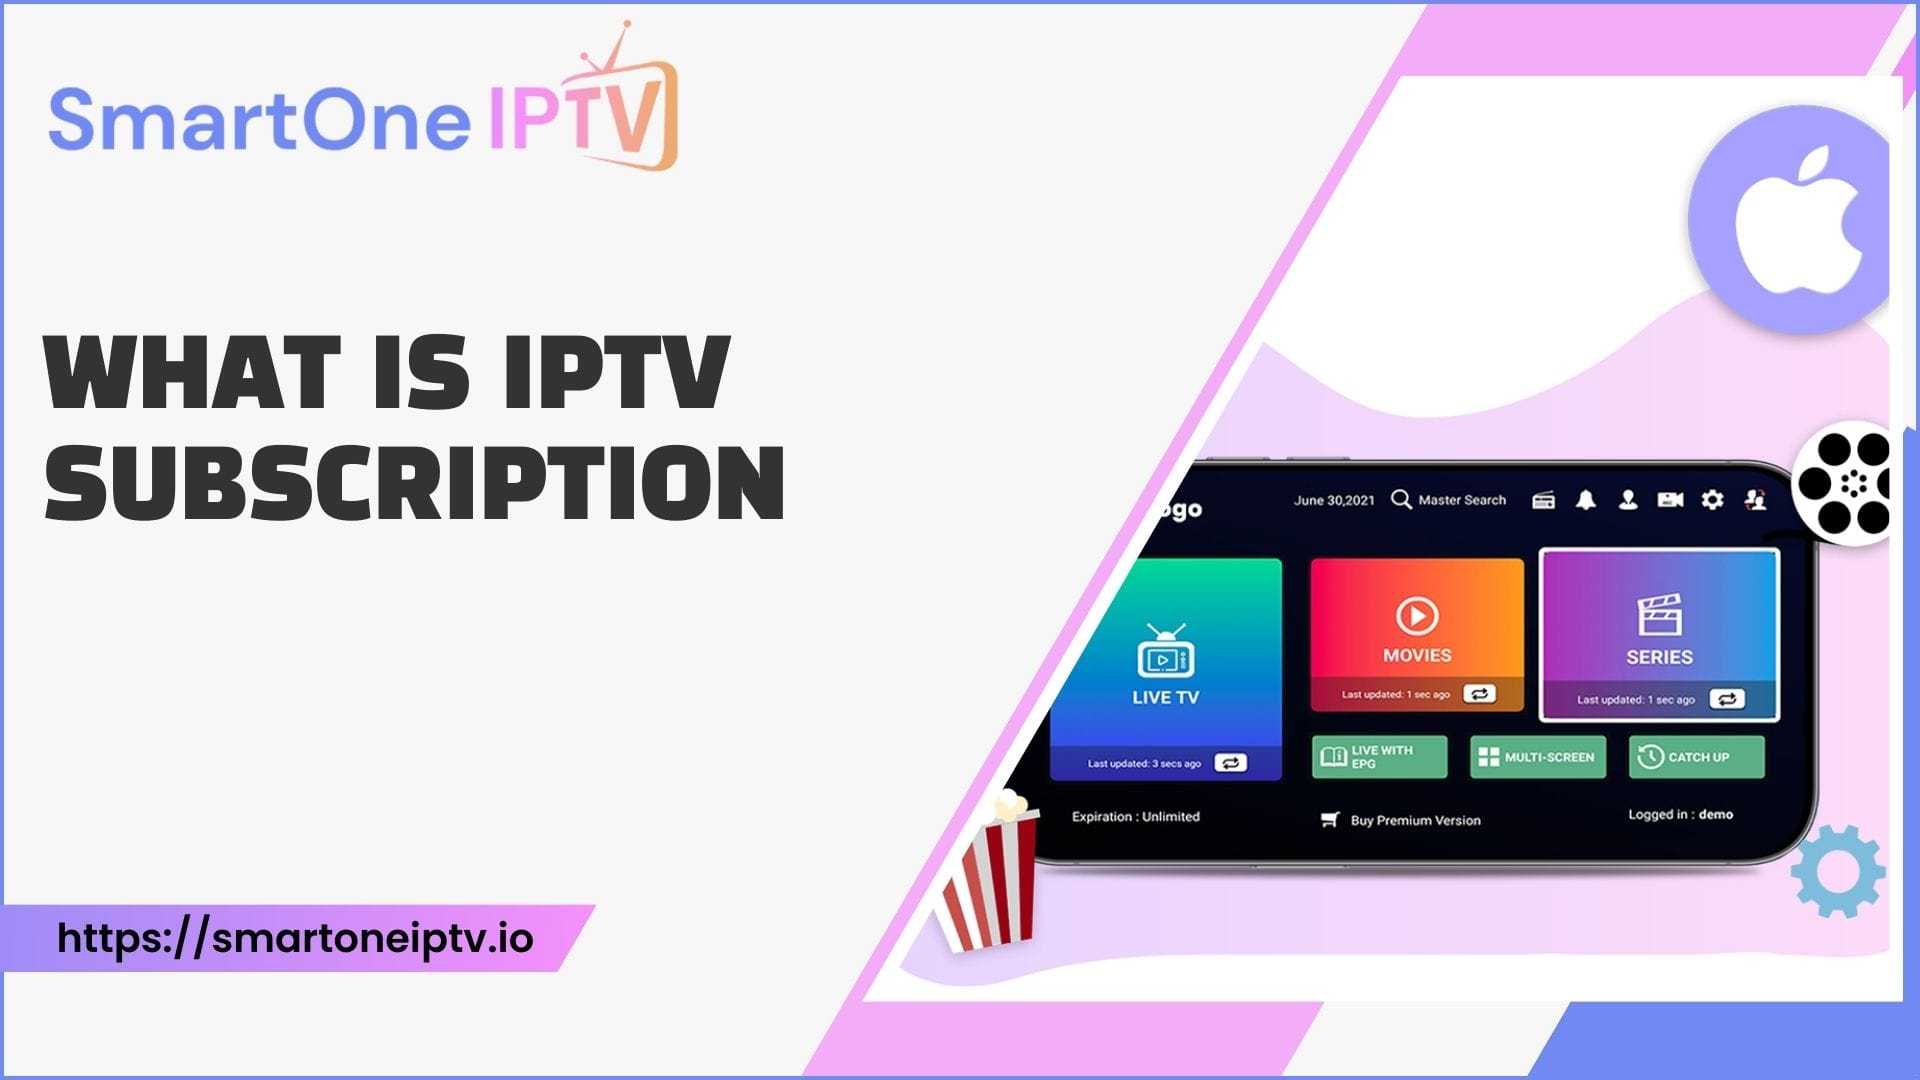
- Once logged in, you’ll see a categorized menu of live TV, movies, and series.
Unique Features:
The app allows you to customize your viewing experience with features like subtitles, multi-screen options, and recording.
3. Watching via a Web Browser
For those who prefer simplicity, streaming IPTV through a web browser is an excellent choice.
How It Works:
- Open your preferred browser, such as Safari or Chrome.
- Visit the web-based IPTV portal provided by your service.
- Log in using your credentials.
- Access and stream channels directly without additional apps.
Advantages:
This method doesn’t require any downloads, making it a quick and straightforward option.
4. Using Kodi with IPTV Add-ons
Kodi is a media center software that supports IPTV through add-ons.
How It Works:
- Install Kodi on your MacBook and navigate to the “Add-ons” section.
- Search for an IPTV-specific add-on like PVR IPTV Simple Client.
- Configure the add-on with your M3U URL.
- After setup, you can access channels from the “TV” section in Kodi.
Benefits of Kodi:
Kodi provides an enhanced experience with additional features like EPG (Electronic Program Guide) and video recording.
5. Third-Party IPTV Players
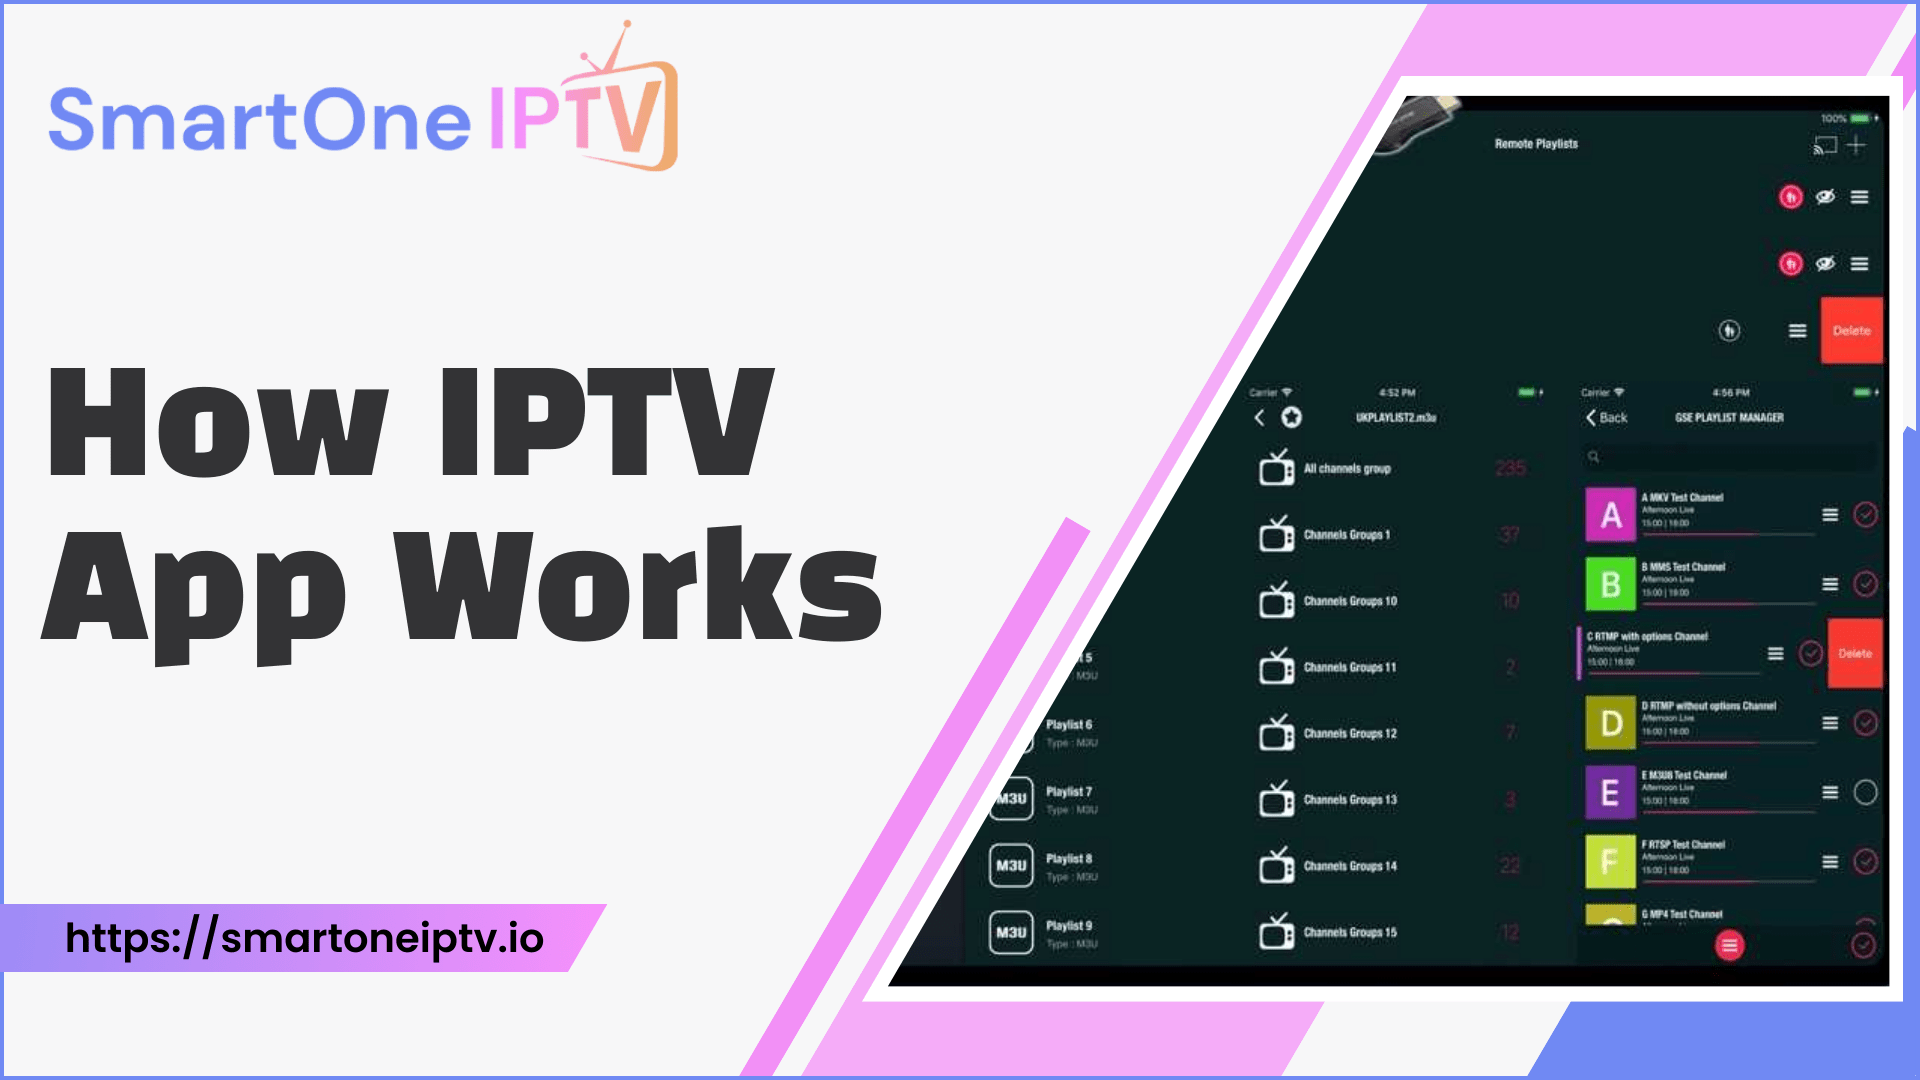
Several other third-party apps support IPTV streaming, such as GSE Smart IPTV and Perfect Player.
How It Works:
- Install your chosen IPTV player.
- Add your M3U playlist or Xtream Codes API credentials.
- Explore the app’s interface to watch live TV or on-demand content.
Why Consider This Option?
These players often come with advanced features like Chromecast support, parental controls, and EPG integration.
Comparing Different Methods
| Method | Ease of Use | Setup Time | Best For |
| VLC Media Player | High | 5 Minutes | Beginners |
| IPTV Smarters Player | Very High | 10 Minutes | User-Friendly Features |
| Web Browser | Very High | 2 Minutes | Quick Access |
| Kodi with Add-ons | Moderate | 15 Minutes | Advanced Users |
| Third-Party IPTV Players | High | 8 Minutes | Feature Enthusiasts |
Tips for Optimal IPTV Streaming on MacBook
- Stable Internet Connection: A speed of at least 10 Mbps ensures smooth streaming.
- Keep Your Software Updated: Always use the latest version of macOS and IPTV apps.
- VPN for Privacy: Consider using a VPN to protect your data and bypass geo-restrictions.
Common Issues and Fixes
Buffering Problems
Buffering can ruin your viewing experience. This usually occurs due to slow internet speeds or server issues. To fix this, switch to a faster connection or contact your IPTV provider for assistance.
Playback Errors
If the app crashes or the stream doesn’t load, check your M3U URL or reinstall the app to resolve compatibility issues.
Channel Not Found
Sometimes, channels may not appear due to outdated playlists. Request an updated M3U link from your provider.
Frequently Asked Questions
1. What is the best app for IPTV on MacBook?
VLC Media Player and IPTV Smarters Player are top recommendations due to their reliability and features.
2. Can I watch IPTV on Safari?
Yes, you can stream IPTV through Safari by accessing your provider’s web-based portal.
3. Do I need a subscription to watch IPTV on MacBook?
Yes, an active IPTV subscription is essential to access the M3U playlist or login credentials.
4. How can I fix buffering issues while streaming IPTV?
Ensure your internet speed meets the requirements and use a wired connection if possible.
5. Is IPTV legal to use?
IPTV is legal as long as the service you use has the proper licenses for content distribution.
Conclusion
Knowing how to watch IPTV on MacBook opens up an endless world of entertainment with live channels, movies, and shows just a click away. Whether you choose VLC Media Player, IPTV Smarters, or a web browser, the process is straightforward and user-friendly. Start streaming today, and enjoy a seamless viewing experience from the comfort of your MacBook.Pro Tip: For the best performance, always choose a reliable IPTV provider with good reviews and a stable server.

